Replating protocorms
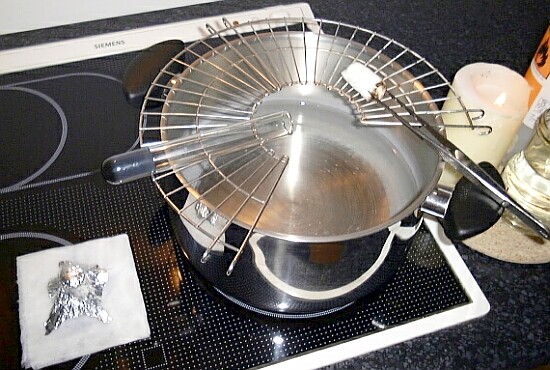
necessary tools
- grill
- cooking pot
- alcohol burner
- gloves
- forceps
- kitchen stove
necessary articles of consumption
- flasks with media
- kitchen paper
- 70% ethanol
When do I have to replate my protocorms?
Let the protocorms grow on their media as long as they don't harm themself or till they start to build first roots. The bigger and healthier they are the better they survive replating. We put a very small quantity of seeds in each flask, so we can wait a little bit longer and the protocorms are stronger when we replate them.

Replating technique
The following steps must be done in the sterile area (steam). Open test tubes and their cotton plugs have to stay in the steam till the test tube is closed again.
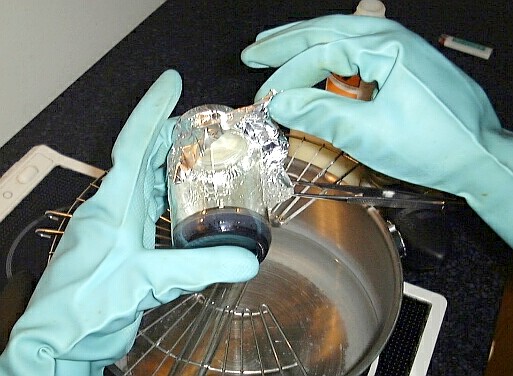
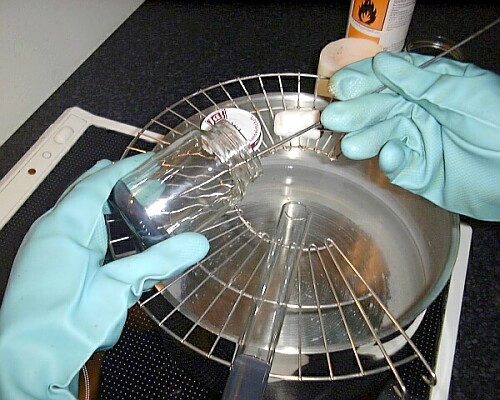
Put on your gloves, take a test tube (mother flask) and remove the aluminium foil cap. Place the cap close to the pod on a kitchen paper which is soaked with 70% ethanol. Take the forceps out of the 70% ethanol and flame it. Remove the cotton plug with the flamed forceps and place the plug and the forceps on the grill.
Now, pick up a replating flask and remove the protecting aluminium foil in the sterile area (steam).
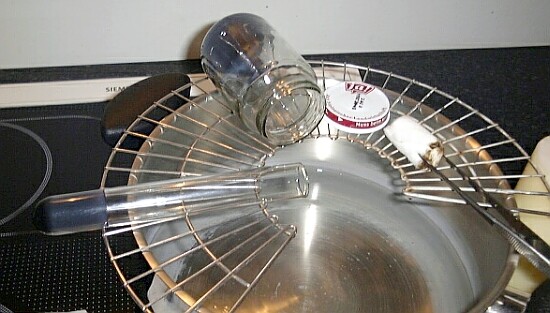
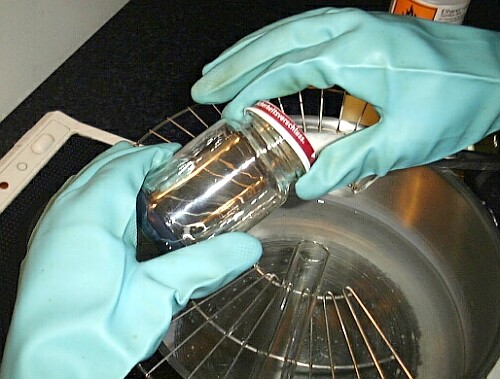
Open the flask and place the lid on the grill. The replating flask can be put down on the grill too.
Next, take the replating tool out of the 70% ethanol and flame it. Before you pick up some protocorms you should dip the tool into the media, on which the protocorms are growing, to cool it. Now, take some protocorms and transfer them into the new flasks.
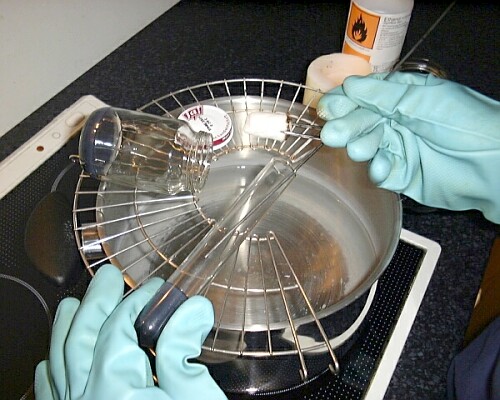
Now, dip your replating tool into the boilding water to clean it and place the clean tool in 70% ethanol till you need it for your next flask. Close the replating flask and place it on your desk for labeling (later).
With the other replating flasks you can process the same way.
Author: Thomas Ederer